

Ever since our first taste of glamping, we’ve been looking to fill the void in our own at-home garden adventures.
Over the years we have bought children’s pop up tents from IKEA and in fairness, they have lasted many years and provide lots of fun. They are easy to setup and not all too expensive. However, none of them have quite been able to re-capture that true sense of adventure.
That retro outdoors trend is all the rage at the moment. Whether it’s an at-home tiki bar (we don’t have one before you ask), or fairly lights or bunting, it’s all really popular.
When I discovered smaller teepee tents for children, I knew I had to get one. They’re not cheap, so I was a bit apprehensive about spending £60 on a children’s tent, but I was willing to spend the money if it was going to be something that would last.
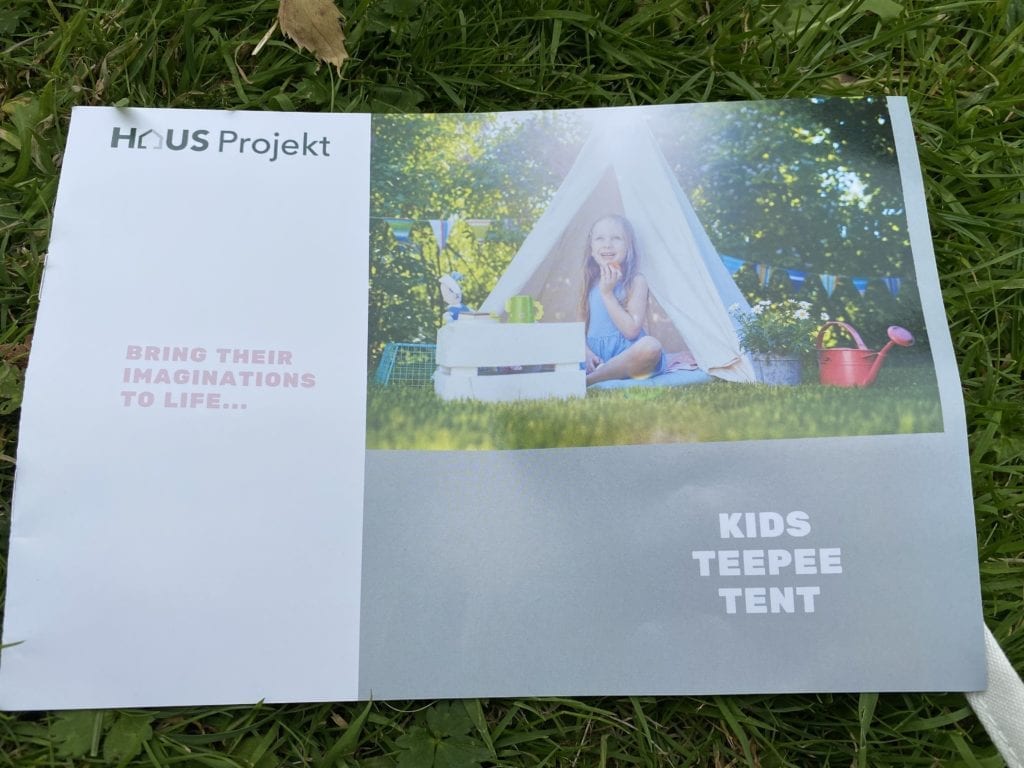
You can find lots of these types of teepee tents on Etsy, Amazon and eBay. The majority are similar, but some sellers are offering theirs with little extras. This is why I ended up going with a teepee tent from Haus Projekt – it also had lots of positive reviews from people, which helped.
Setting up the teepee tent
It arrived promptly from Etsy (next day I believe) and it was well packaged in an outer cardboard box. Inside, you’ll find a canvas carry bag that contains the polls and everything that you need.
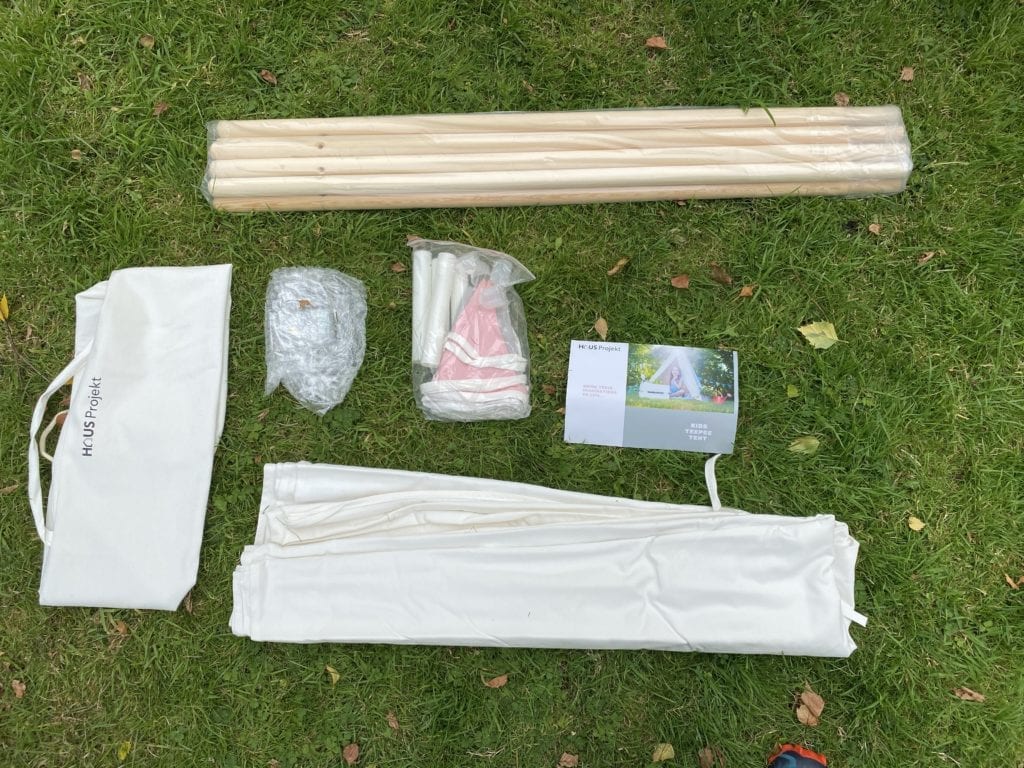
What’s included
- Canvas tent and poles
- Canvas base mat
- Fairly lights (AA batteries not included)
- Bunting
- Carry bag
An instructions booklet is also included, but it was all really simple to setup.
What immediately hits you when you open the box was that familiar smell of canvas, exactly like you get when you’re attending an outdoor event with bigger versions of these things.
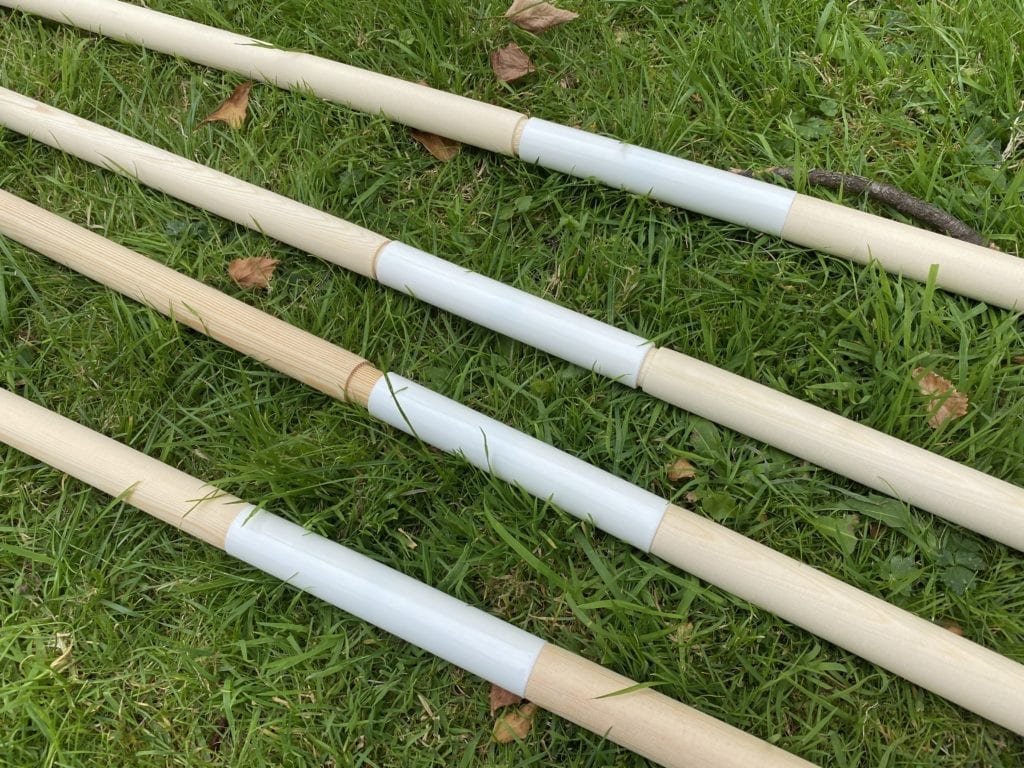
To get started, you take the plastic connectors and connect the poles together, two at a time. Most of them went together quite easily, but there were one or two that weren’t quite flush. I tried pushing the poles into the connectors as hard as I could, but they didn’t go all the way in. A bit disappointing and I will be contacting the seller for advice. I imagine, as you are talking about natural materials (wood), they can expand and change shape slightly. We managed to get the poles in enough to get it set up, but I was worried that if I applied further force, it may snap the poles, so be careful!
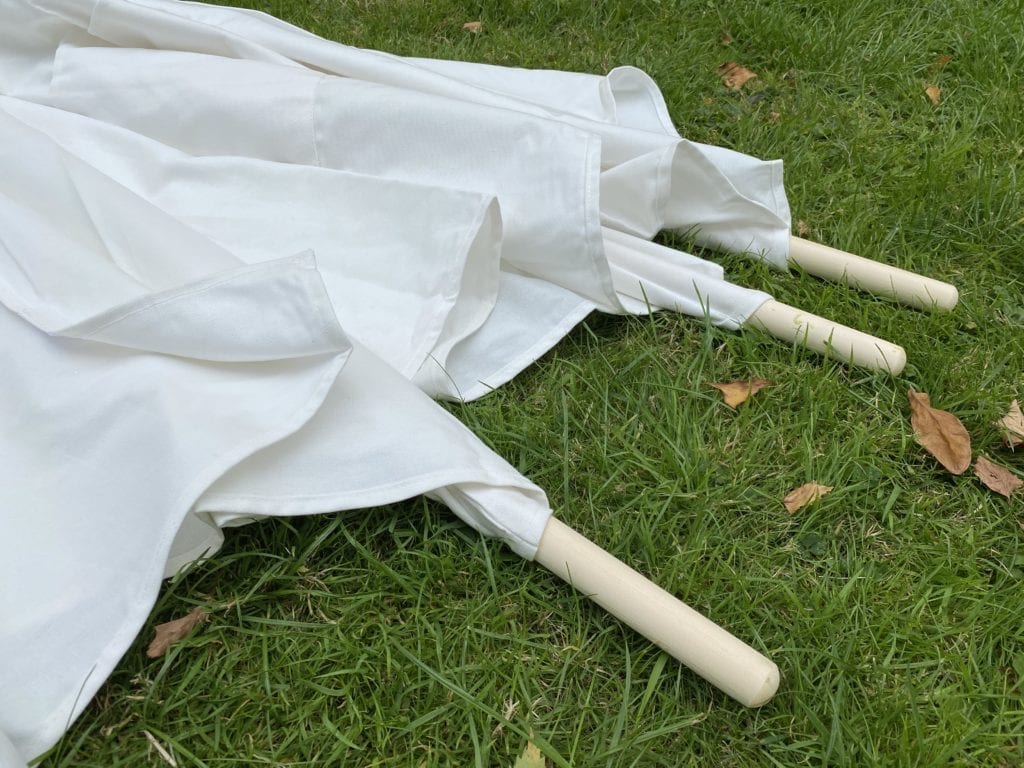
Next, you simply insert the poles into the canvas tent. Add the rubber feet to the ends of the poles and start to spread the poles out to give it that teepee shape. You may need to go around it a few times until it is all equally spread out.
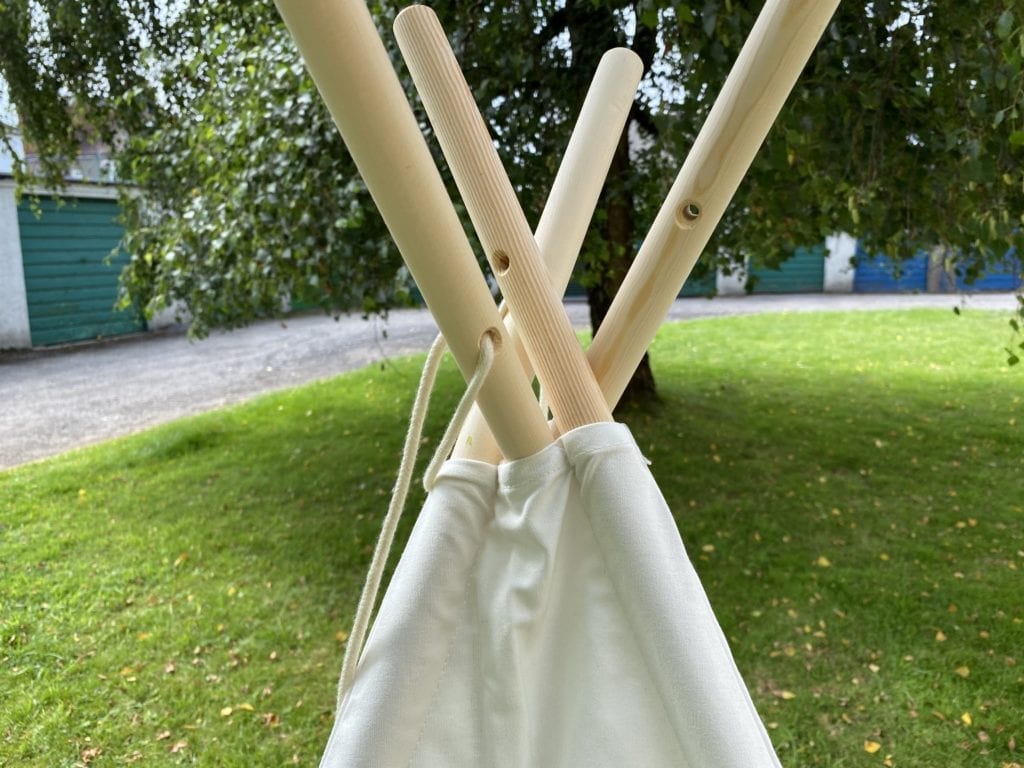
Once you’re happy with the shape, use the rope at the top to thread through the poles and tie them together.
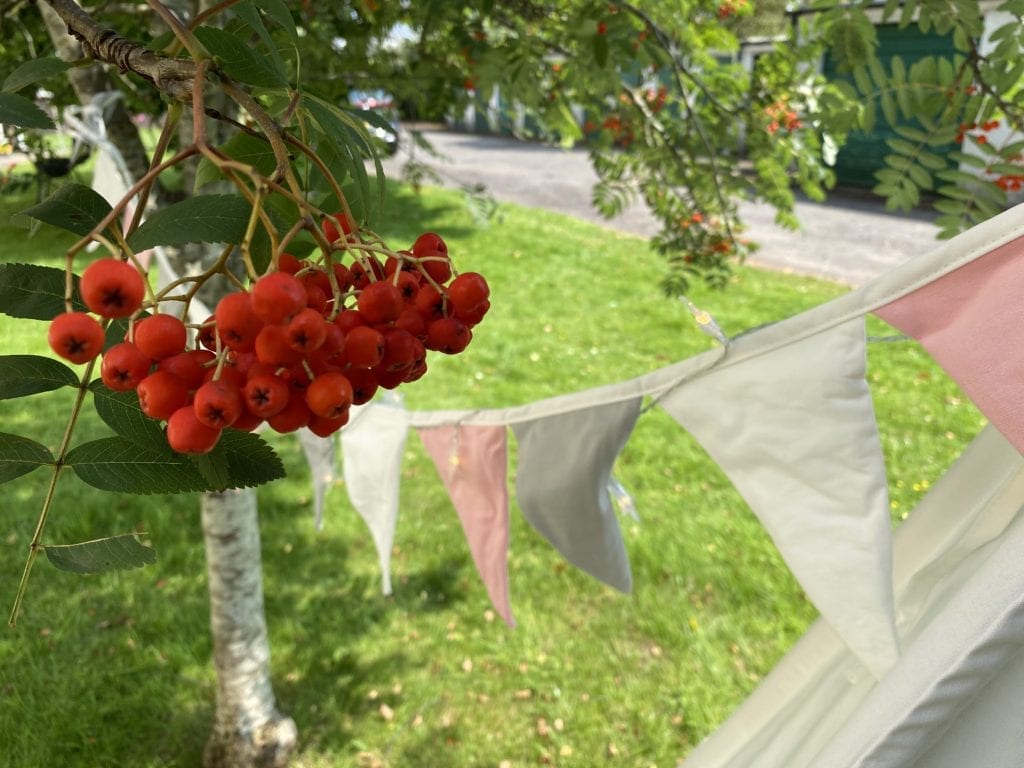
Add the bunting and fair lights – we connected ours to a tree for that signature look.
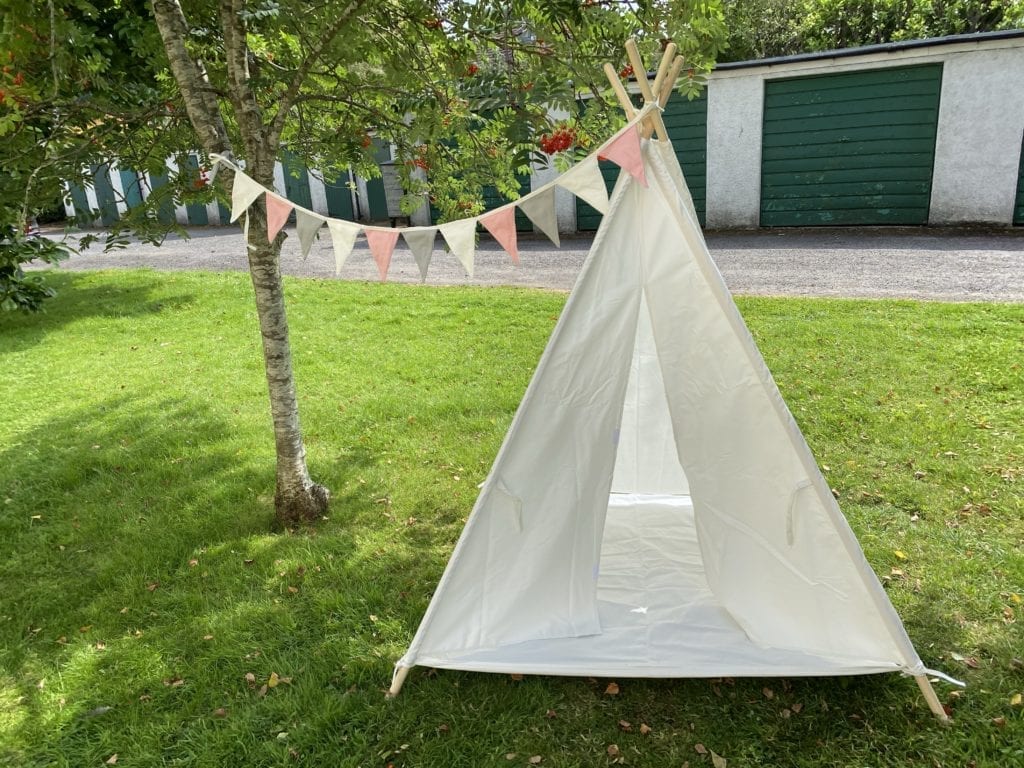
That’s all there is to it, all very simple and easy to setup.
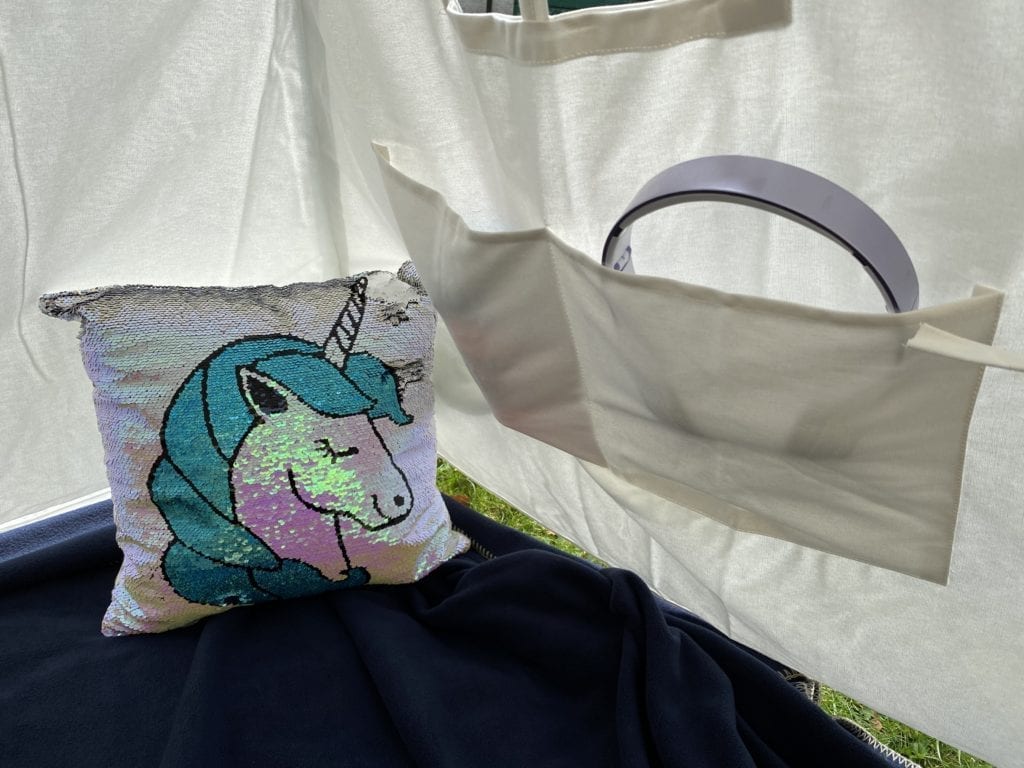
There are pockets on the inside of the tent that can hold books, headphones and toys (whatever you like). There is also a cute little window with a flap, which you can roll up. The doors to the tent can also be held back with ties or closed using velcro.
Where to buy / how much does it cost?
We purchased our teepee tent from Hannah at Haus Projekt on Etsy for just under £60 (on sale), but you can pick these up on Amazon from the same seller or find an alternative.